
Tips for Creating Custom Calligraphy: A Guide to Beautiful Handwritten Art
Introduction: The Art and Power of Custom Calligraphy
Calligraphy is more than beautiful handwriting—it's a form of expressive art. From wedding invitations and brand logos to Quranic verses and inspirational quotes, custom calligraphy adds elegance, emotion, and personality. Whether you’re a beginner or a seasoned calligrapher, refining your technique can elevate your work from ordinary to extraordinary. This guide offers practical tips and strategies to master custom calligraphy and unleash your creative potential.
1. Understand the Different Styles of Calligraphy
Before diving in, familiarize yourself with various calligraphy styles. Each has its own charm and application:
-
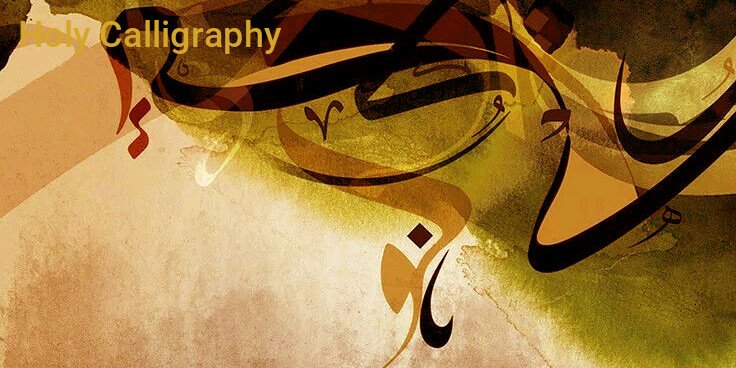
Thuluth: A classical Arabic script, elegant and ornate, often used in Islamic calligraphy.
-
Copperplate: Flowing, pointed-pen script with thin upstrokes and thick downstrokes.
-
Gothic/Blackletter: Medieval style with bold, dramatic lines—great for formal text.
-
Modern Calligraphy: A looser, more creative take on traditional scripts.
-
Brush Lettering: Uses brush pens or watercolor brushes to create a casual, artistic vibe.
Choosing the right style helps define the tone of your piece.
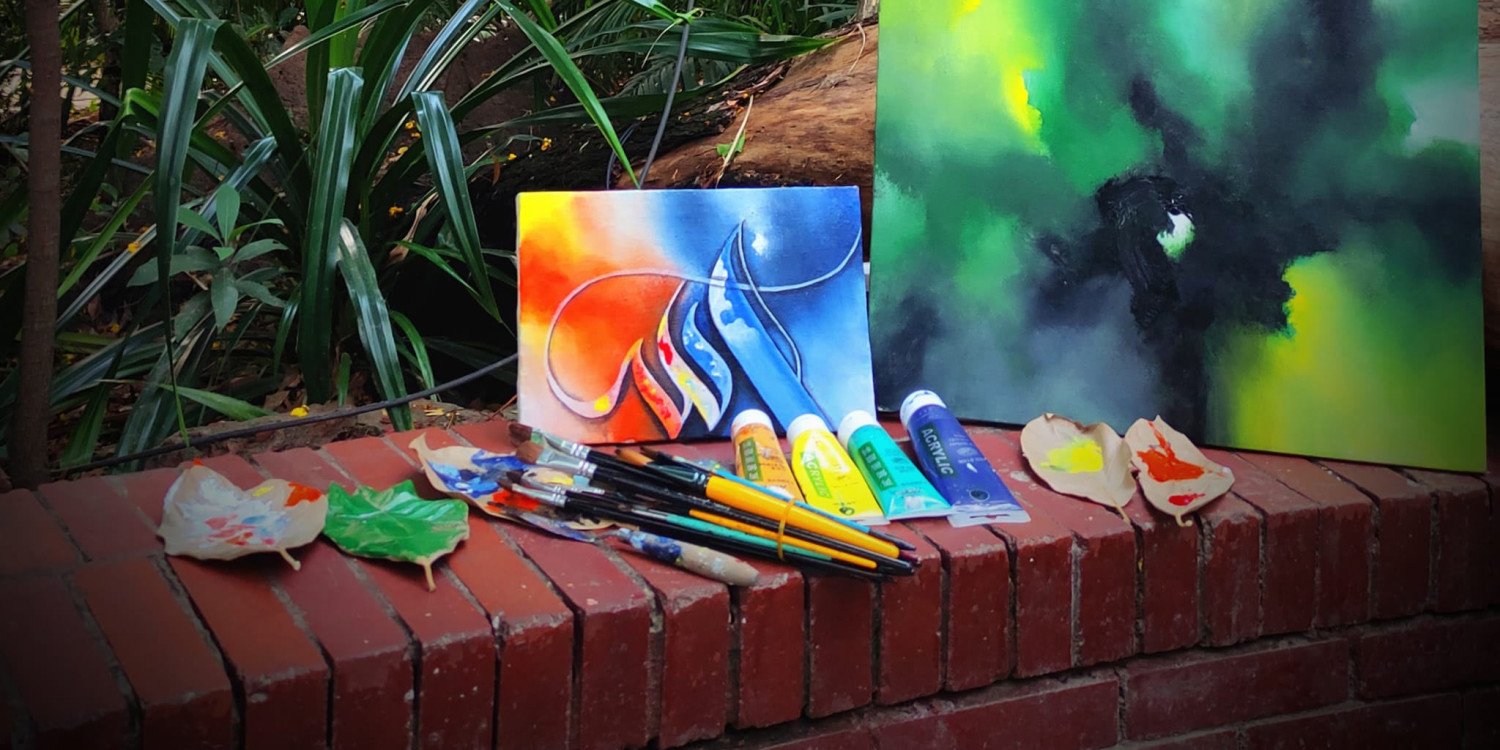
2. Start with the Right Tools
Quality tools can make a big difference in your final result. Here’s what you’ll need:
-
Calligraphy Pens: Dip pens, fountain pens, or brush pens depending on your style.
-
Nibs: Choose based on flexibility and line variation. For example, G-nibs offer great control for Copperplate.
-
Inks: Waterproof or water-based inks, available in a variety of colors.
-
Paper: Smooth, high GSM paper that doesn’t bleed. Rhodia and Canson are good options.
-
Ruler & Pencil: For guidelines and spacing.
Invest in good-quality materials to avoid frustration and enhance your workflow.
3. Learn the Fundamentals First
Even the most creative artists must master the basics. Focus on:
-
Proper posture and grip: Sit comfortably with a relaxed hand.
-
Consistent pressure: Light on the upstroke, heavier on the downstroke.
-
Basic strokes: Practice ovals, straight lines, and curves repeatedly.
-
Letter structure: Understand how each letter is formed—spacing, angles, and height.
Spend time on drills daily. Repetition builds muscle memory, which is key for fluid writing.
4. Create Custom Guidelines for Each Project
Custom calligraphy demands custom preparation. Use guidelines to maintain:
-
Consistent baseline
-
X-height and ascender/descender space
-
Letter slant (especially in italic and Copperplate)
Use a light pencil to sketch out layout lines and erase them after the ink dries. For digital calligraphy, use guide layers.
5. Develop Your Unique Style
While mastering traditional forms is important, custom calligraphy shines when it reflects your artistic identity. Try:
-
Mixing styles: Combine serif fonts with cursive flourishes.
-
Custom flourishes: Add swirls, loops, and extended tails.
-
Color experimentation: Blend watercolor or metallic inks for visual impact.
-
Hand-drawn ornaments: Integrate frames, leaves, or borders.
The more you experiment, the more you’ll find a personal style that clients or viewers recognize.
6. Use Technology to Your Advantage
Digital tools enhance custom calligraphy:
-
Procreate (iPad): Create calligraphy using Apple Pencil and custom brushes.
-
Adobe Illustrator: Convert your handwriting into scalable vector graphics.
-
Font Creation Tools: Transform your calligraphy into usable fonts with apps like Fontself or Calligraphr.
Digitizing your calligraphy allows you to edit, reuse, and scale your work for print, websites, and branding.
7. Practice Layout and Composition
Calligraphy isn’t just about writing—it's about design. Great custom work requires attention to layout:
-
Centering and symmetry: Use a grid to balance elements.
-
Whitespace: Let your letters breathe.
-
Hierarchy: Emphasize key words with larger size or heavier weight.
-
Contrast: Mix bold and delicate lines for visual interest.
Sketch thumbnails before committing to a final piece. A good composition enhances readability and elegance.
8. Create Meaningful Custom Pieces
Custom calligraphy becomes impactful when it connects emotionally. Ideas include:
-
Personalized Names: For weddings, gifts, or home décor.
-
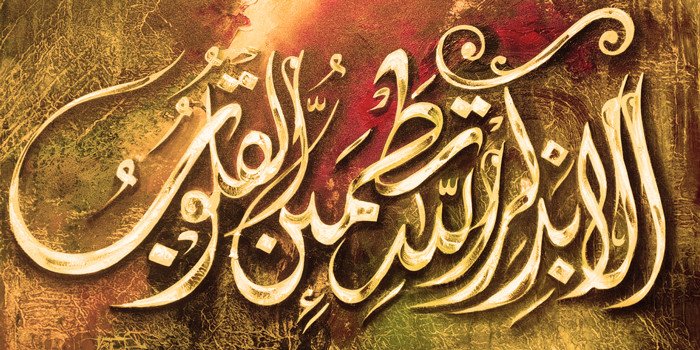
Religious Verses: Quranic ayat, Bible verses, and more.
-
Quotes & Poetry: Make meaningful words come alive.
-
Custom Branding: Logos, labels, and packaging with a handmade touch.
Ask yourself: What emotion or message should this piece convey?
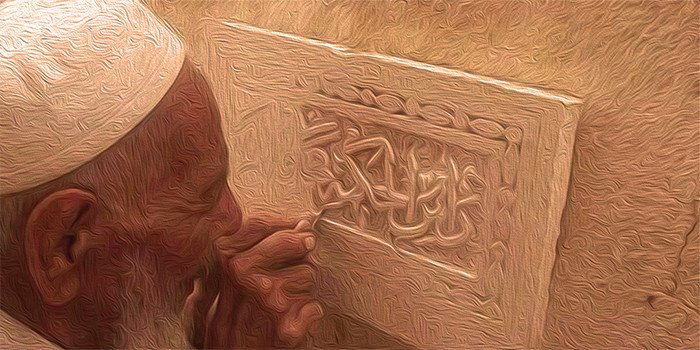
9. Protect Your Work
Always protect both physical and digital work:
-
Use fixatives to prevent ink smudging on paper.
-
Scan at high resolution (300-600 DPI) for archiving and printing.
-
Add watermarks or signatures to digital versions.
-
Keep source files organized for future edits.
You’ve spent hours crafting each piece—make sure your work is preserved and protected.
10. Keep Learning and Finding Inspiration
Calligraphy is a lifelong journey. Grow by:
-
Following artists on social media
-
Joining calligraphy communities and forums
-
Taking online or in-person workshops
-
Reading classic and modern books on lettering
Don’t be afraid to step out of your comfort zone. Every new technique you learn adds depth to your portfolio.
Conclusion: Turn Skill into Signature Style
Custom calligraphy blends skill, passion, and creativity. From selecting the right tools and mastering strokes to refining your own signature style, each step is part of a rewarding process. As you continue practicing and experimenting, you’ll not only improve your technical ability but also develop a unique artistic voice.
Whether you’re working on a Quranic verse in Thuluth script, a wedding monogram, or a modern digital font, let every letter you write tell a story. Start with these tips and take the next step in your calligraphy journey.
Recent Posts

Reflections on Faith Through Calligraphy: The Sacred Art of the Written Word

The Role of Art in Islamic Spirituality: A Visual Path to the Divine
Quranic Verses in Art and Their Meanings: Exploring the Spiritual Power of Sacred Words
Famous Islamic Artists & Calligraphers: Masters of Spiritual Aesthetics and Script

Symbolism in Arabic Calligraphy: The Hidden Meaning Behind the Art of the Divine Word

The Timeless Beauty: A Comprehensive History of Islamic Art and Calligraphy

Digital Tools for Calligraphy Artists: Elevate Your Art with Technology
Tips for Creating Custom Calligraphy: A Guide to Beautiful Handwritten Art
Arabic Calligraphy Styles Explained: A Journey Through Classical and Modern Forms
Contacts
-
Address
Unit 4, Storm 12 Plaza Shopping Centre, 54 St Mary's Rd, Southampton, United Kingdom, SO14 0BH
-
Phone
+447400478480
-
Email
My Account
Others
-
Address
Unit 4, Storm 12 Plaza Shopping Centre, 54 St Mary's Rd, Southampton, United Kingdom, SO14 0BH
-
Phone
+447400478480
-
Email
-
Become A Seller Apply Now
- Login to Seller Panel
